Plant Care
How to Dig and Store Dahlia Tubers for Winter
Mea Cara · October 30, 2026 · 6 min read
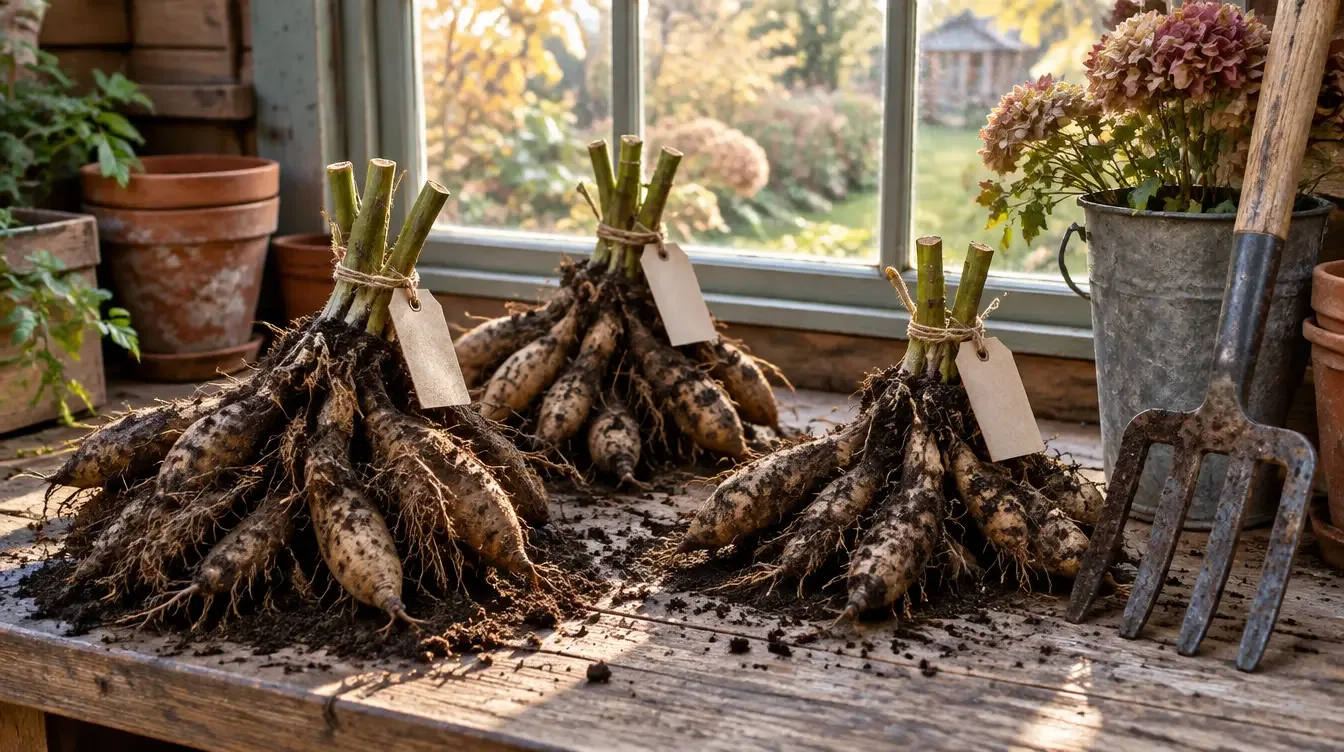
One cold night and the dahlias are over. Yesterday they were still throwing the last few flowers; this morning the foliage is black and hanging, and the plants that were the best thing in the garden in September look like something to clear away. They are not. Under each one is a clump of tubers that will give you the same variety, bigger, next year, and probably a few spares.
Where the ground freezes, that clump will not survive in the soil. Lifting it is an afternoon's work for a dozen plants, and the storage is the part people get wrong, mostly by keeping the tubers too warm or too wet. This is when to dig, how to do it without snapping the necks off, and how to keep them until April.
When to dig
Wait for the frost. Blackened foliage is the signal, and it is worth leaving the plants for another one to two weeks afterwards, because the cold tells the tubers to finish ripening and the skins toughen for storage. If the forecast turns to a hard freeze that could reach the tubers, dig sooner; a light frost that only kills the tops is fine. Across most of the United States this falls in late October or November.
Where frost comes late or not at all, dig once the plants have stopped flowering and the foliage is tired, before the winter rains set in and the tubers sit in cold mud. In mild-winter gardens with well-drained soil, dahlias can be left in the ground under 4 to 6 inches of mulch, but a wet winter rots them where a cold one would not, so lifting is still the safer bet.
Digging, step by step
- Cut the stems to 4 to 6 inches. Do this first, before you dig, so there is a handle and so you can see what you are doing.
- Label now, not later. Tie a tag with the variety name to each stump before the plant leaves the ground. Ten clumps of dahlia tubers look exactly alike in a box, and a bed of unnamed dahlias next year is a bed you cannot plan.
- Dig wide. Start a foot out from the stem on every side with a garden fork or spade and loosen all round before lifting. Tubers spread further than you expect and the necks, where tuber meets stem, break easily. Lift from underneath, not by the stem.
- Shake and rinse. Knock off the loose soil. Rinsing with a hose lets you see rot and damage and is fine as long as the clumps dry thoroughly afterwards; leaving the soil on is also fine if you would rather. Cut away anything soft or broken.
- Drain and cure. Turn the clumps upside down for a few hours so water runs out of the hollow stems, then let them cure for a few days in a cool, dry, shaded place — a garage floor, a covered porch — out of sun and frost. The skins firm up and small cuts seal.
Storing them
The target is 40 to 50°F, dark, and neither damp nor dry. An unheated basement, a cold closet, a frost-free garage, or a crawl space usually has a corner that qualifies; a refrigerator is too cold and too humid, and a heated room is too warm and will shrivel them by January.
Pack each clump in a cardboard box, crate, or plastic bin with the lid left loose, surrounded by slightly damp vermiculite, peat, coarse sawdust, or wood shavings so the tubers do not touch. The medium should feel barely moist to the hand, not wet. Keep the label with the clump. Some gardeners wrap each clump in plastic wrap instead, which works in a dry basement and fails in a damp one, so try it on a spare before trusting it with the variety you care about.
Then check them once a month. It takes two minutes and it is the whole difference between April and disappointment.
- Shriveling, soft-skinned tubers are too dry: mist the medium lightly or add a little damp vermiculite.
- Soft, dark, or moldy patches are rot: cut them out back to clean flesh and let the cut dry a day before repacking. Throw away anything that has gone mushy at the neck.
- Sprouts in February or March mean the spot is too warm. Move them somewhere cooler, or pot them up and treat them as early plants.
Dividing
A clump that goes in whole next spring will grow, but it will give you a thicket of weak stems. Dividing it gives you several strong plants. Each division needs a piece of the old stem with at least one eye on it — the small pale bump where new growth starts, at the top of the tuber where it meets the crown — plus an undamaged neck and a sound tuber below. A tuber with no eye, however large, will never grow.
The eyes are easiest to see in spring, when they begin to swell, which is why most gardeners store the clumps whole and divide in March or April. If you can already see eyes at lifting time, you can divide in fall and store the pieces, which saves space; the cut surfaces need a day or two to dry before they go into the box. Either way, label every piece.
What people get wrong
Digging the day after frost without curing, and packing wet tubers into a sealed bin, which rots them by Christmas. Storing in a warm house, which shrivels them. Lifting by the stem, which snaps the necks. And the quiet one: not checking until spring, when one bad clump has spread through the box. Monthly inspection catches all of it. The other quiet failure is the unlabeled bin, which is not a loss of tubers but a loss of the knowledge you spent the summer earning.
What to write down
The variety name against each clump, and roughly how many tubers it made; a plant that produced two tubers and a plant that produced twelve are telling you something about that spot. Then the date you lifted, where the box is, and — in spring — how many came through. After one year that is a storage method you can trust. After three, you know which varieties are worth the space and which bed grew them best, and a photo of each variety in bloom beside its name settles every argument in July about which one the pink one was.
Lifting dahlias comes near the end of the fall checklist, and the variety-by-variety record is the sort of thing a garden journal is for. GardenBinder is free to start, and a photo of the labeled clump with the date is the whole entry.
#dahlias #tubers #overwintering #winter-storage #flowers